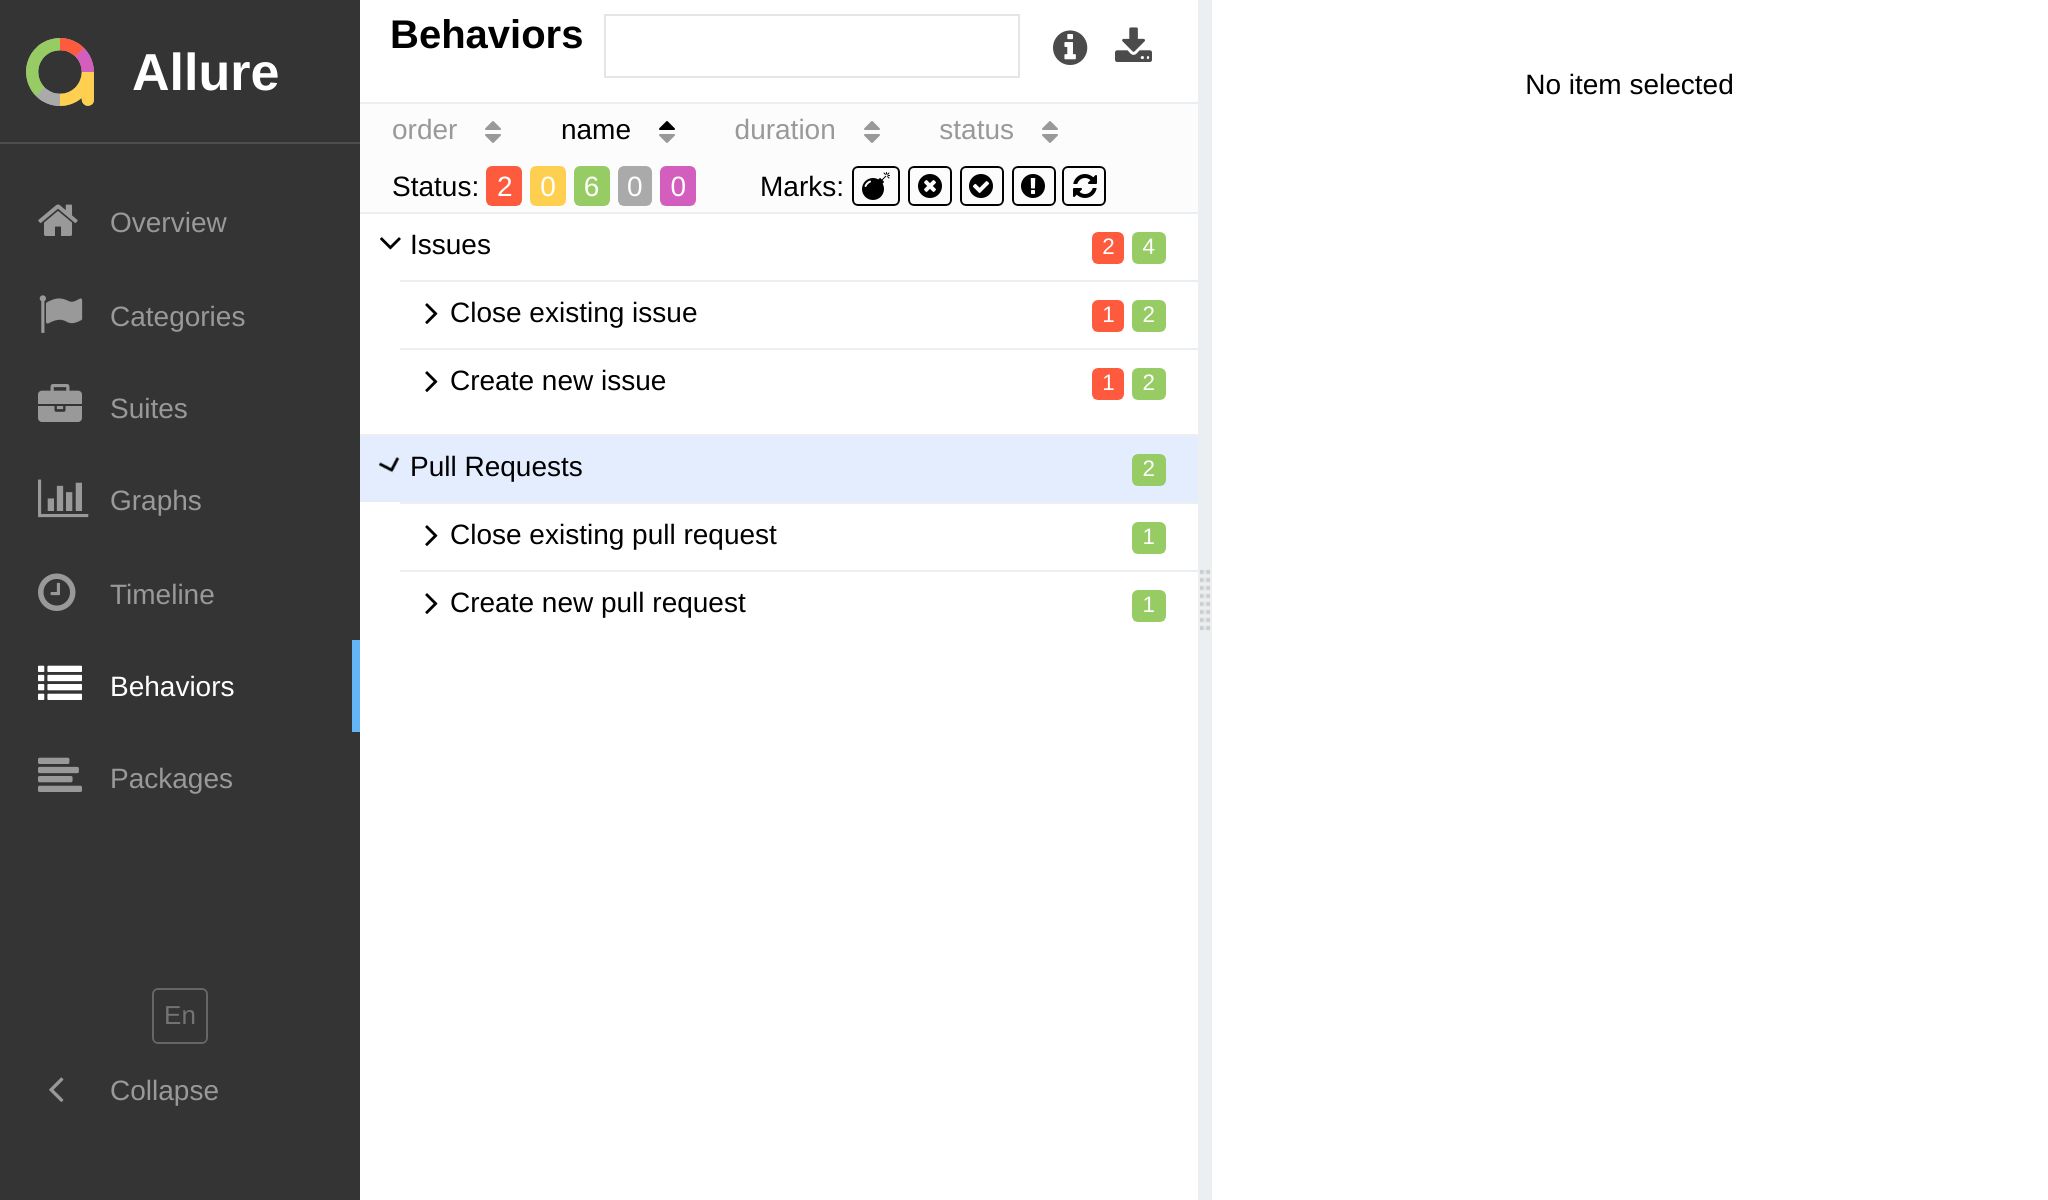
By Story
This grouping option is a concept that comes from the Behavior-Driven Development (BDD) methodology. Unlike the suite-based grouping, which is based on the technical structure of your test suite, the story-based grouping helps you to focus on the business value of your tests and view them from the end-user perspective.

The story-oriented hierarchy has 4 mandatory levels: epic, feature, story and test case.
- Epic
- High-level business goal
- Feature
- Functionality that delivers business value
- Story
- User story that describes a feature from the end-user perspective
- Test Case
- Atomic, lowest-level unit. In Jest, it is a single
itortestfunction.
Before you start using this grouping option, you need to decide how exactly you want to implement it:
- via annotations – a more granular approach, which allows you to control the grouping on a per-test basis;
- via configuration – a quick option to enable it all at once, based on general rules;
- via mixing these approaches – a compromise between the two, where the configuration serves as a fallback for missing annotations.
Using annotations
The annotation-based approach gives you a fine-grained control over the names of your epic, feature and story labels, but it requires you to add annotations to every and each test case (sic!) which can be tedious.
Let's take the same project as in the previous article, where there are two parts: client and server. Both them deal with the same functionality – authentication and restoring forgotten passwords. Hence, it would make sense to group both client and server tests under the same epic named Authentication, and continue grouping them by features and stories regardless of the application layer.
- Docblocks
- DSL
- Preview
/**
 * @epic Authentication
 * @feature Login screen
 */
describe('Login controller', () => {
  it('should validate e-mail', () => {
    /** @story Validation */
    // ...
  });

  it('should return 401 if user is not found', () => {
    /** @story Validation */
    // ...
  });
});
import { $Epic, $Feature, $Story } from 'jest-allure2-reporter/api';

$Epic('Authentication');
$Feature('Login screen');
describe('Login controller', () => {
  $Story('Validation');
  it('should validate e-mail', () => {
    // ...
  });

  $Story('Validation');
  it('should return 401 if user is not found', () => {
    // ...
  });
});
└─ Authentication
   ├─ Login screen
   │  ├─ General
   │  │  ├─ should display login form on client
   │  ├─ Validation
   │  │  ├─ should validate e-mail on client
   │  │  ├─ should validate e-mail on server
   │  │  ├─ should return 401 if user is not found
   │  │  └─ should return 401 if password is incorrect
   └─ Forgot password screen
      └─ Validation
         ├─ should validate e-mail on client
         ├─ should validate e-mail on server
         ├─ should return 401 if user is not found
         └─ should return 401 if password is incorrect
As mentioned before, the annotation-based approach requires you to annotate literally every test case with all the three labels (epic, feature and story), otherwise the report will be stubbornly displaying a flat structure in Behaviors section.
To relax the requirement to annotate all your test cases, you can add a fallback via configuration, e.g.:
/** @type {import('@jest/types').Config.InitialOptions} */
module.exports = {
  testEnvironment: 'jest-allure2-reporter/environment-node',
  reporters: [
    'default',
    [
      'jest-allure2-reporter',
      /** @type {import('jest-allure2-reporter').ReporterOptions} */
      {
        labels: {
          epic: ({ value }) => value ?? 'Uncategorized',
          feature: ({ value }) => value ?? 'Untitled feature',
          story: ({ value }) => value ?? 'Untitled story',
        },
      },
    ],
  ],
};
Using configuration
The configuration-based approach allows you to group test cases based on the available attributes like the test file path, the ancestor describe blocks and any other contextually available information.
It is much faster to implement than if you were to annotate every test case by hand, but it is also less flexible. Still, there are many cases where it can be useful, especially if you have a large test suite and you want to add some structure to it. For example, if your grouping by suite focuses mostly on the file structure, the story-based grouping may add "a fresh perspective" by grouping tests by describe blocks and test names, for example.
Let's explore a simple example, where we'll map:
- epic to the top-level describe block
- feature to the middle-level describe blocks
- story to the lowest-level describe block
- Config
- Preview
/** @type {import('@jest/types').Config.InitialOptions} */
module.exports = {
  testEnvironment: 'jest-allure2-reporter/environment-node',
  reporters: [
    'default',
    ['jest-allure2-reporter', /** @type {import('jest-allure2-reporter').ReporterOptions}*/ {
      labels: {
        epic: ({ testCase }) => testCase.ancestorTitles.at(0) ?? '(uncategorized)',
        feature: ({ testCase }) => testCase.ancestorTitles.slice(1, -1).join(' > ') || '(uncategorized)',
        story: ({ testCase }) => testCase.ancestorTitles.slice(2).at(-1) ?? '(uncategorized)',
      },
    }],
  ],
};
├─ Login screen
│  ├─ when loaded
│  │  └─ should display login form
│  └─ when loaded and typed
│     ├─ should validate e-mail
│     └─ should validate password
├─ Forgot password screen
│  ├─ when loaded
│  │  └─ should display forgot password form
│  └─ when loaded and typed
│     └─ should validate e-mail
├─ Login controller
│  ├─ should return 401 if user is not found
│  └─ should return 401 if password is incorrect
└─ Forgot password controller
   ├─ should return 401 if user is not found
   └─ should return 401 if password is incorrect
Many-to-many mapping
It is worth mentioning that Allure allows you to map a test case to multiple epics, features and stories, but you should use this feature with caution, as it may lead to a very complex report structure.
- Docblocks
- DSL
it('should validate e-mail', () => {
  /**
   * @epic Authentication
   * @feature Login screen
   * @story Validation
   *
   * @epic Security
   * @feature XSS prevention
   * @story Login form
   */

   // ...
});
$Epic('Authentication');
$Feature('Login screen');
$Story('Validation');
$Epic('Security');
$Feature('XSS prevention');
$Story('Login form');
it('should validate e-mail', () => {
   // ...
});